Dymo 1755120 LabelWriter 4XL 4-Inch Printer, Prints 3/8"-4" Wide, 53 Labels P/M, BK/Silver


Dymo 1755120 LabelWriter 4XL 4-Inch Printer, Prints 3/8"-4" Wide, 53 Labels P/M, BK/Silver
Dymo 1755120
- Free Shipping
- 1 Year Warranty
- 30 Day Returns
- Carbon Neutral
Dymo
1755120
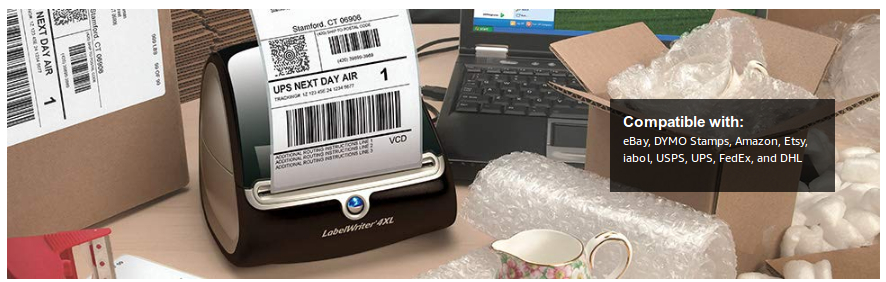
Label printer features thermal printing technology to print with a resolution of 300 dpi without the need for costly ink or toner. With more than 60 label styles and layouts, you can quickly print custom labels to accommodate virtually any task. Fast print speed produces up to 53 standard address labels or 129 high-capacity address labels per minute. Label printer creates labels up to 4.16" wide, including 4.1" x 6.275" shipping labels, warehouse labels, bar-code and identification labels, bulk mailing labels and more. This wide-format label printer accommodates the entire line of LW labels for maximum flexibility, and is compatible with a variety of popular online selling platforms and shipping carriers.
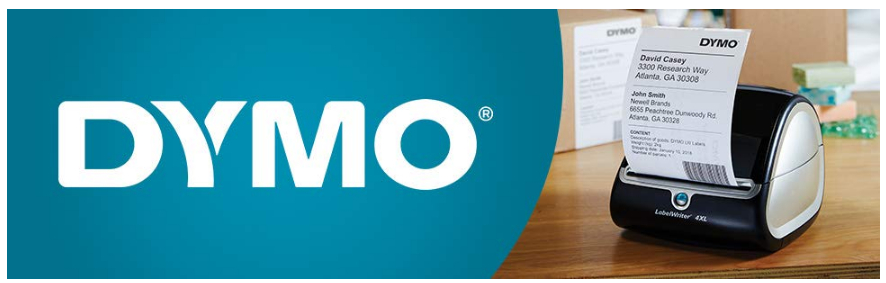
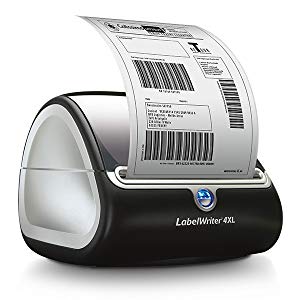
DYMO LabelWriter 4XL Thermal Label Printer
The DYMO LabelWriter 4XL is a wide-format label printer that accommodates the entire line of LabelWriter labels for maximum flexibility and is also compatible with a variety of popular online selling platforms and shipping carriers. It's ideal for extra-large shipping and warehouse labels, including 4-inch international shipping labels, along with label styles for file folders, name badges, online postage, standard mailing and shipping labels, and more.Easy High-Volume Jobs
- Quickly & easily print labels directly from popular programs, including shipping & selling platforms
- Included DYMO Productivity software provides printing capability, including graphics, barcodes, etc.
- Print USPS-approved postage with the included DYMO Stamps software
- Compatible with Windows 7 or later and Mac OS X v10.8 or later
Setting Up Your DYMO LabelWriter 4XL

Do not connect your printer until after the software installation is complete.
Connect the power adapter to the power cord and plug into port. Plug USB cord into port and connect cable to computer USB port once software installation is complete.
Remove protective labels found in printer. Place new label roll on the spindle and insert the label spool into the slot in the printer cover. See user guide for detailed step-by-step instructions.
Double-click button to start. Select label type and a layout. Once in Edit area, add customized text. Click Print to print label.
Return Policy |
Time to Return |
|
Standard Return Policy |
We offer a hassle-free 30-day returns policy for domestic (US) orders, excluding non-refundable items. Refund or Replacement within 30 days of the delivery date. All products that fall under the Standard Return Policy qualify for our 30-Day Hassle-Free Returns. Please see the section above for more details. |
|
Replacement Only Return Policy |
Replacement within 30 days of the delivery date. |
|
Manufacturer Only Return Policy |
Covered by the manufacturer's warranty. Please refer to the terms and conditions for the manufacturer's warranty or contact the manufacturer. |
|
Holiday Extended Return Policies |
Extended Holiday Return Policy.Qualifying purchases of products displaying the " Extended Holiday Return Policy ", from November 1st, 2023 to December 25, 2023, are eligible for a Refund or Replacement until January 31, 2024. Extended Holiday Replacement-Only Return PolicyQualifying purchases of products displaying the " Extended Holiday Replacement-Only Return Policy ", from November 1st, 2023 to December 25, 2023, are eligible for a Replacement until January 31, 2024. |
Accessories


